T2Love · Girls' specialty apparel · Los Angeles
Product Photography at Scale
- Problem
- Every new season, 75–150 garments have to be photographed so they match a live catalog of 1,500+ products, and the job falls to one photographer.
- What I did
- Took over as T2Love's sole product photographer in late 2024: styling, lighting, shooting, and publishing each seasonal collection to Shopify.
- How I solved it
- Re-rigged the studio I inherited into a fixed system: even three-point lighting, a locked overhead camera, two exposure presets, and a 1:1 / 1080 px crop spec. Consistency happens at capture, not in editing.
- Impact
- A full seasonal shoot takes 2–3 days. That adds up to roughly 500 finished images a year, published into a catalog that looks uniform across seasons.
Production at a glance
- 75–150products per seasonal shoot
- 2–3 daysper shoot, capture to finished set
- ~500finished images a year
- 1,500+products in the live catalog
- Role
- Photographer (solo since late 2024)
- Timeframe
- June 2023 – present
- Tools
- Canon EOS 5D Mark III · Capture One · Affinity Photo · Brandboom · Shopify
Overview
T2Love is a Los Angeles specialty clothing brand for girls, selling direct-to-consumer through its Shopify store. Every product that goes online needs photography that is consistent with the rest of a catalog now numbering between 1,500 and 2,000 products — season after season.
I joined T2Love in June 2023 and initially shot alongside colleagues. Since late 2024 I have been the brand’s sole product photographer, responsible for taking each new season’s collection from garment rack to publish-ready imagery: roughly 500 finished images a year, shot in batches of 75–150 products over two to three days.
The problem consistency solves
A customer scrolling a collection page sees forty garments at once. If the lighting drifts, the crop wanders, or the white balance shifts between shoots, the grid looks careless — and the product looks cheaper than it is. At 75–150 new products per shoot, consistency cannot be recovered in editing. It has to be built into the setup.
So the setup does not change.
Studio system
I inherited a working studio when I started, and made two changes to it. I re-rigged the lighting so the light falls evenly across the full frame, and I reset the height of the camera rig so that the shooting table sits exactly inside the frame — no cropping around the edges of the surface, no wasted resolution. The lighting arrangement I worked toward came from studying how Uniqlo and Abercrombie & Fitch light their own flat-lays online.
Camera — a Canon EOS 5D Mark III with an EF 24–70mm f/4L IS USM, mounted on a fixed overhead rig facing straight down and tethered to a computer, so every frame lands on screen at full size as it is shot. I shoot without zoom, except for close-up detail shots, which use the same focal length every time.
Lighting — a three-point setup that stays in position between shoots:
- a continuous soft-box at the bottom right
- a soft-box flash on the left
- an umbrella strobe at the top right
Surface — the same table and the same white paper background for every product.
Exposure — two settings, selected by how light or dark the garment is, with identical flash output for both:
| Garment | Shutter | Aperture |
|---|---|---|
| Dark colors | 1/30 | f/7.1 |
| Light colors | 1/40 | f/8.3 |
Two presets rather than per-garment metering is a deliberate choice: it keeps a black tank and a white tee looking like they belong in the same catalog, and it keeps the shoot moving at volume.
Where the system needs judgment
A fixed setup is only useful if you know where it stops working.
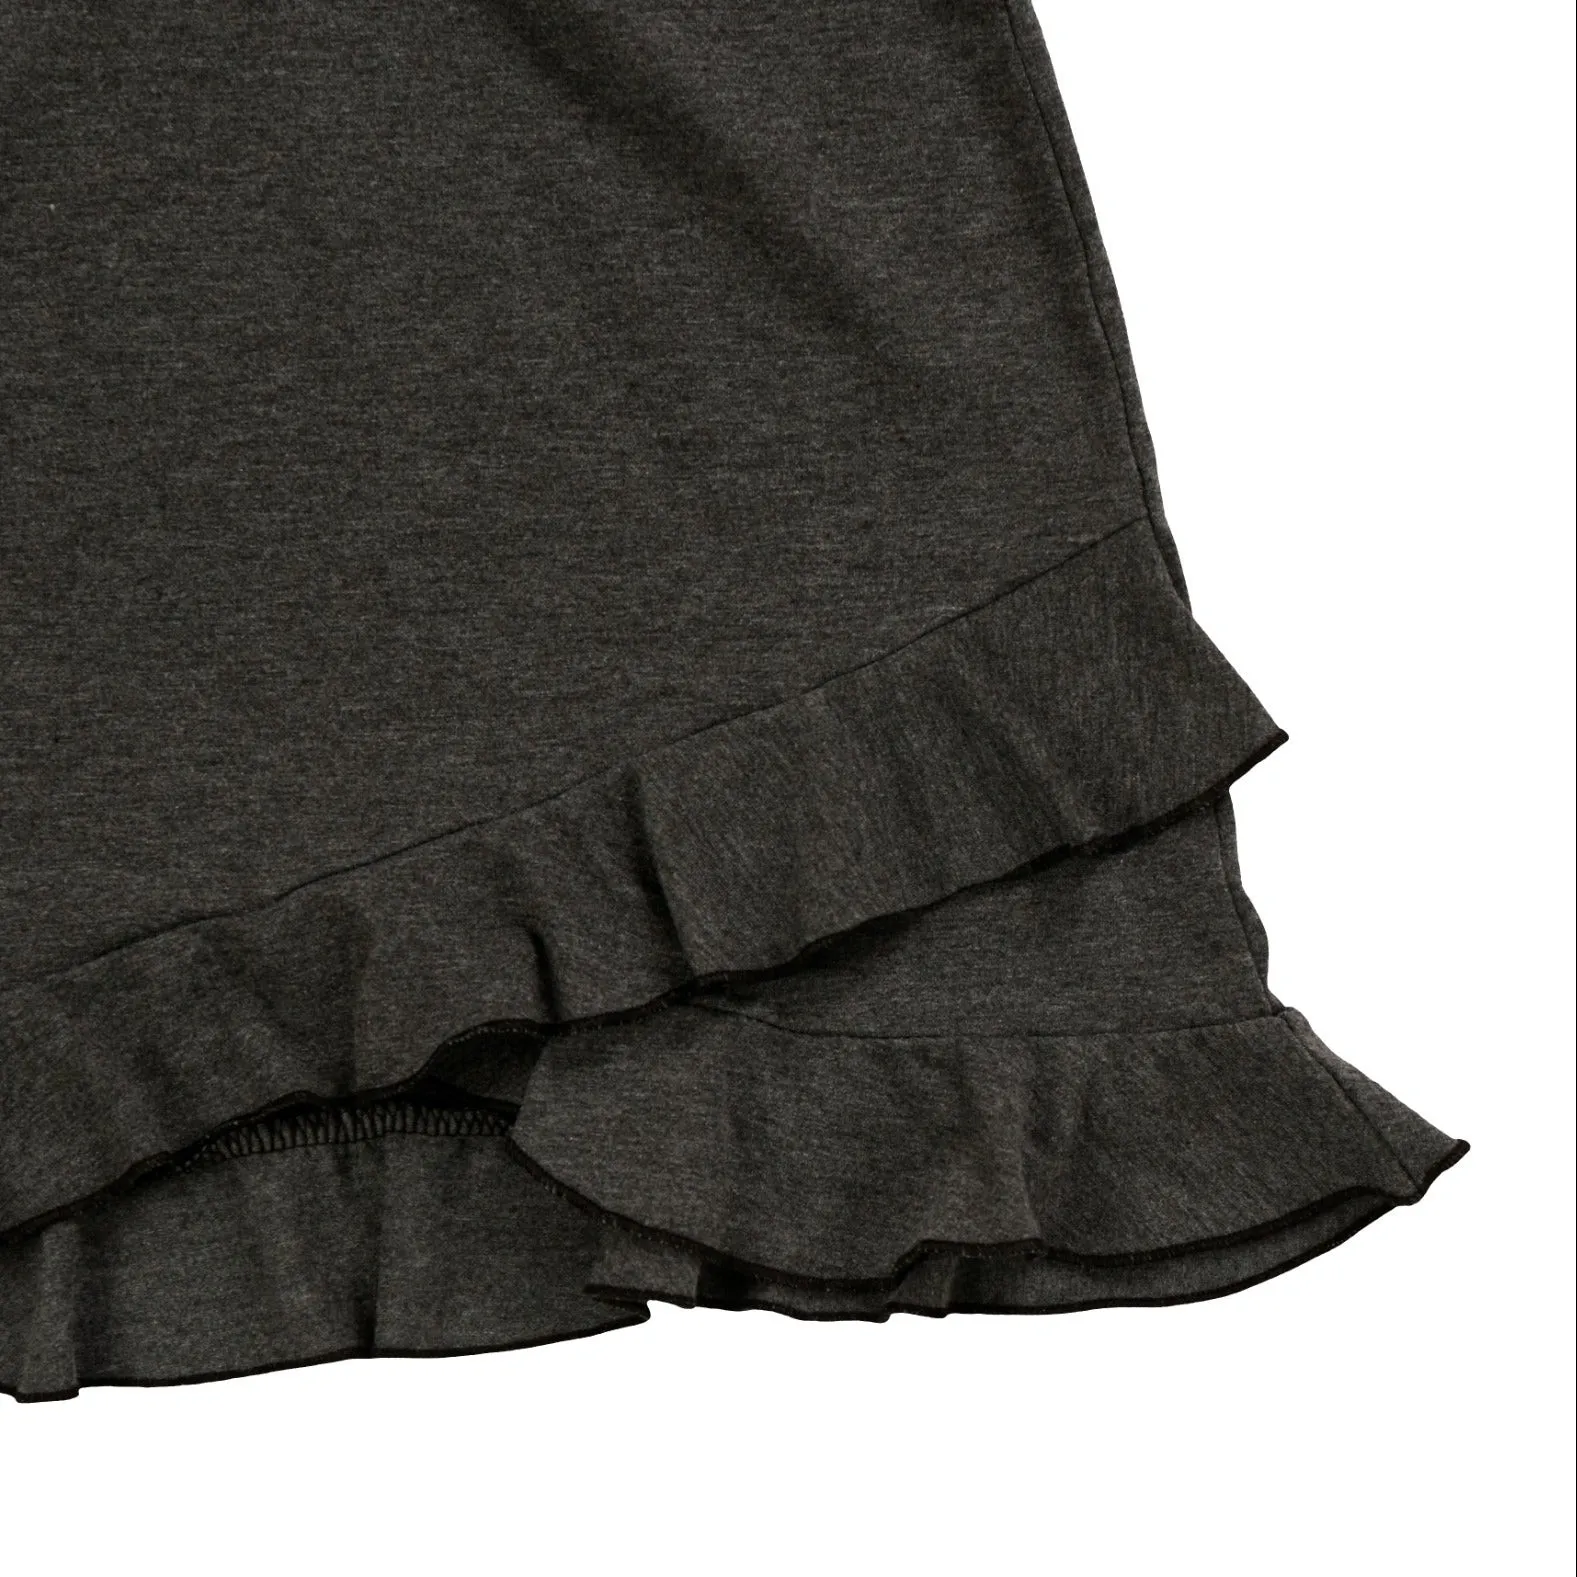
Light-absorbing fabric. Velvet and linen swallow light — at the standard setting the construction detail disappears into a flat dark shape. For these I raise the flash by four increments, doubling the output, which brings the seams and texture back without changing anything else in the setup. Metallic and sheer fabrics, which people assume are the hard case, give me no trouble at all on the standard settings.
Long garments. Dresses and full-length one-pieces don’t fit the frame at the rig’s fixed height. Rather than move the camera and break the setup, I lay the garment at 90° across the table. Because the lighting is even across the whole frame, a rotated garment is indistinguishable from an upright one once cropped — the exception costs nothing in consistency.
Asset and SKU workflow: capture to live product page
Every image has to end up attached to the right product, under the right SKU, in two systems — Brandboom for wholesale and Shopify for the storefront.
- Capture — shot tethered and saved as PNG, at the camera’s native 4:3 frame.
- Crop — every image is cropped to a 1:1 square at 1080 × 1080, the delivery spec for both the wholesale catalog and the storefront.
- Name and associate — a colleague uploads the images to Brandboom, our wholesale platform, where backgrounds are removed and replaced with pure white and each file is renamed to its product SKU, numbered when a SKU has several images.
- Retrieve — I download the processed, SKU-named images back from Brandboom as JPGs.
- Publish — I upload each image to its matching Shopify product.
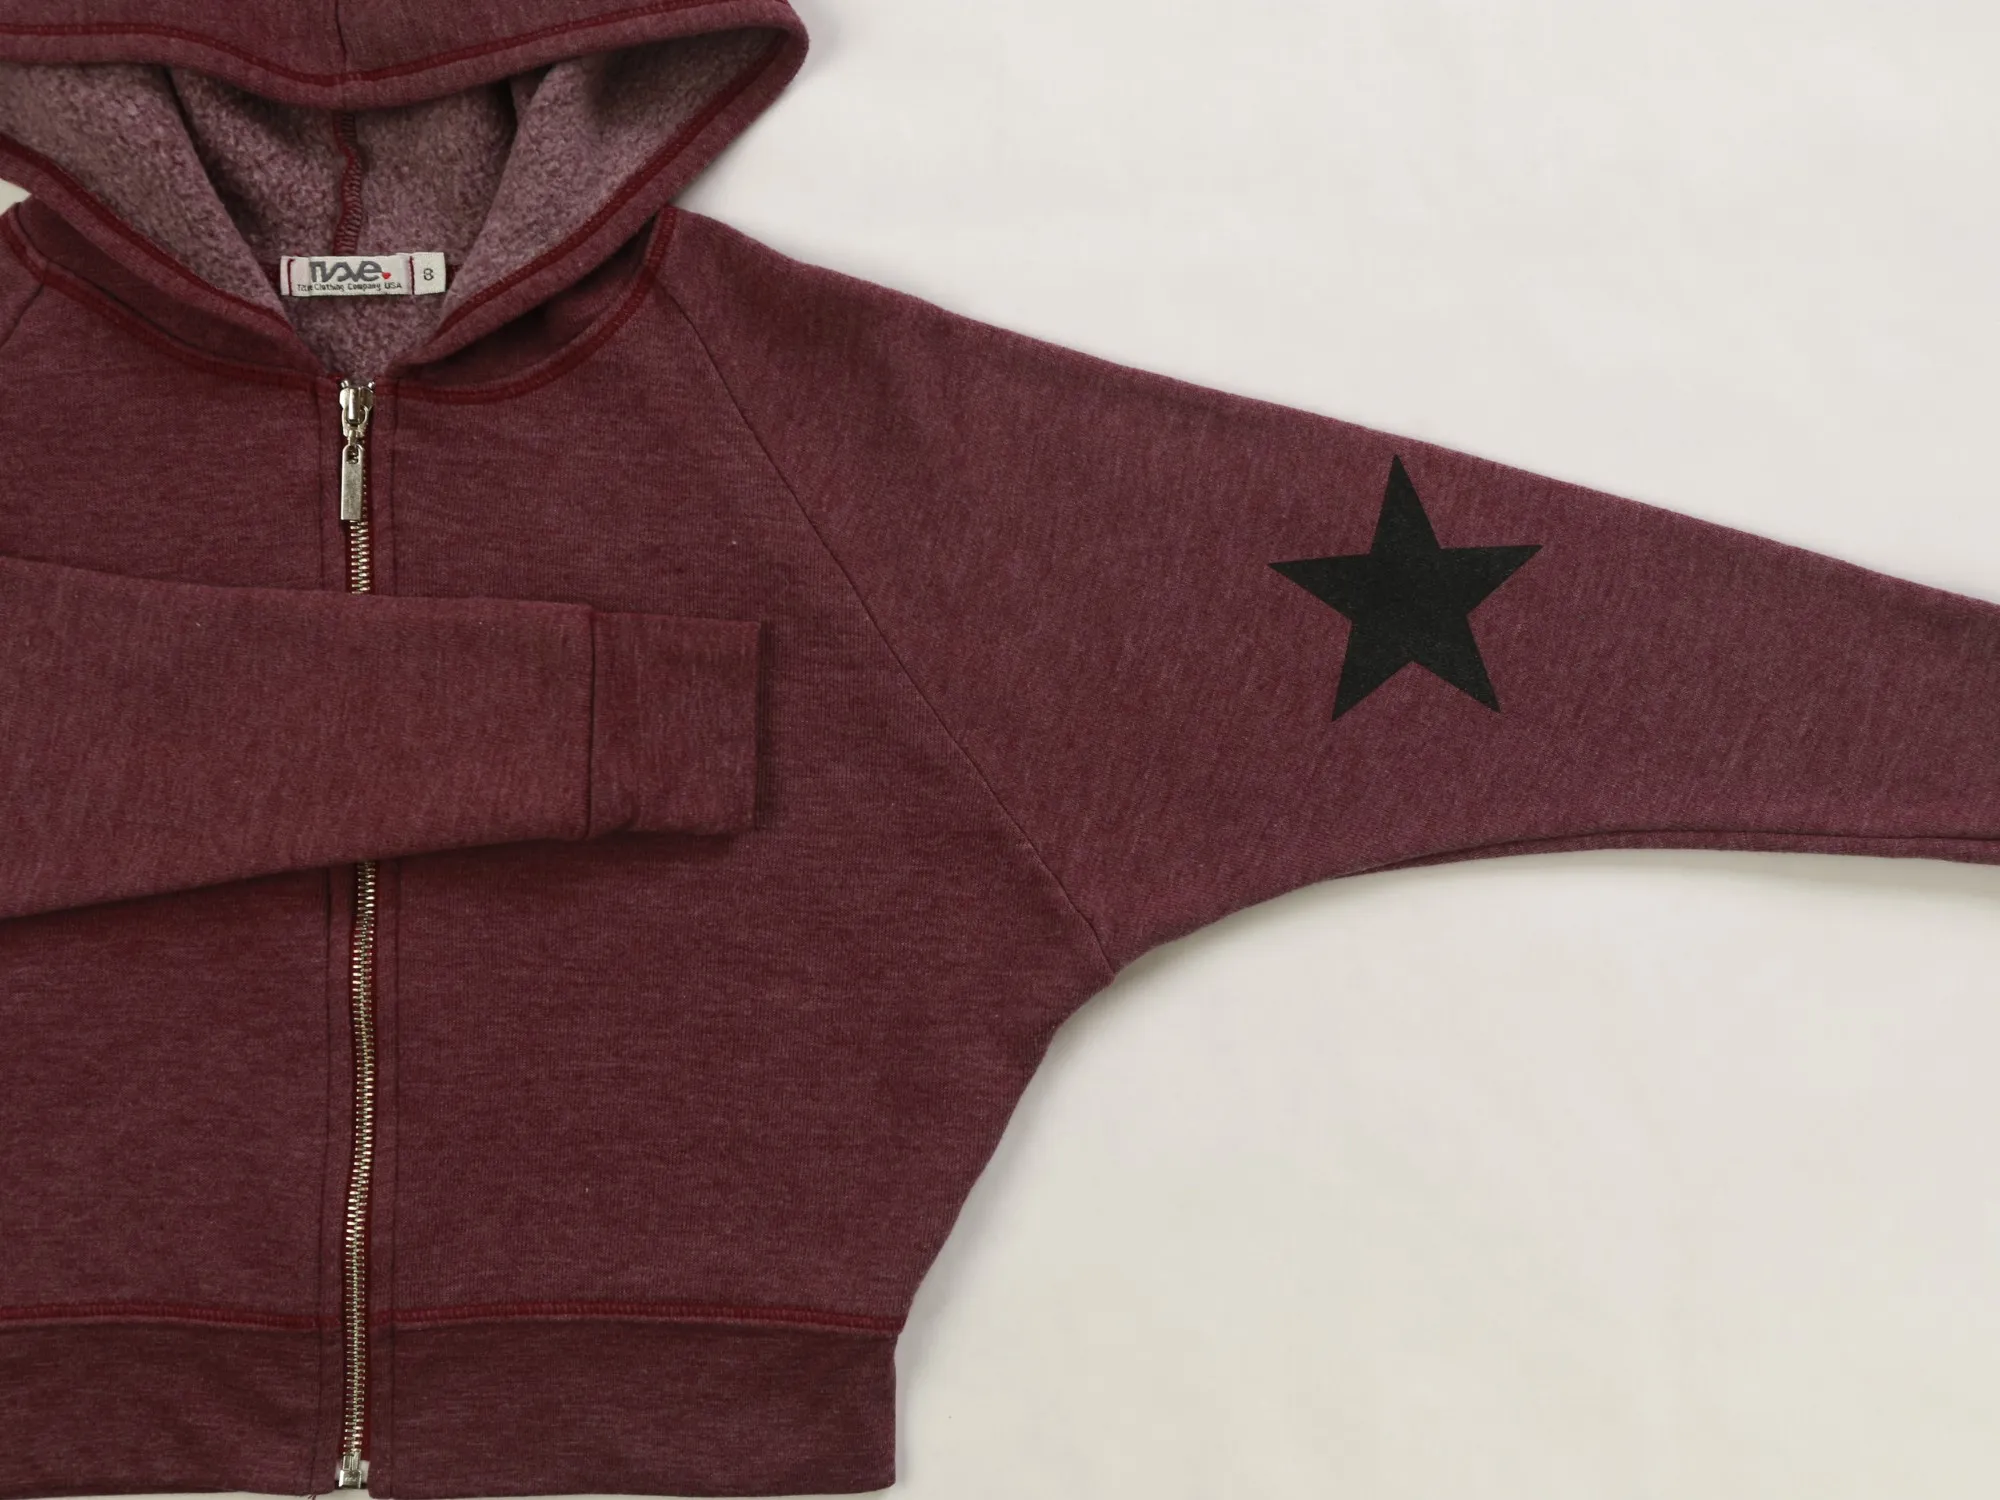
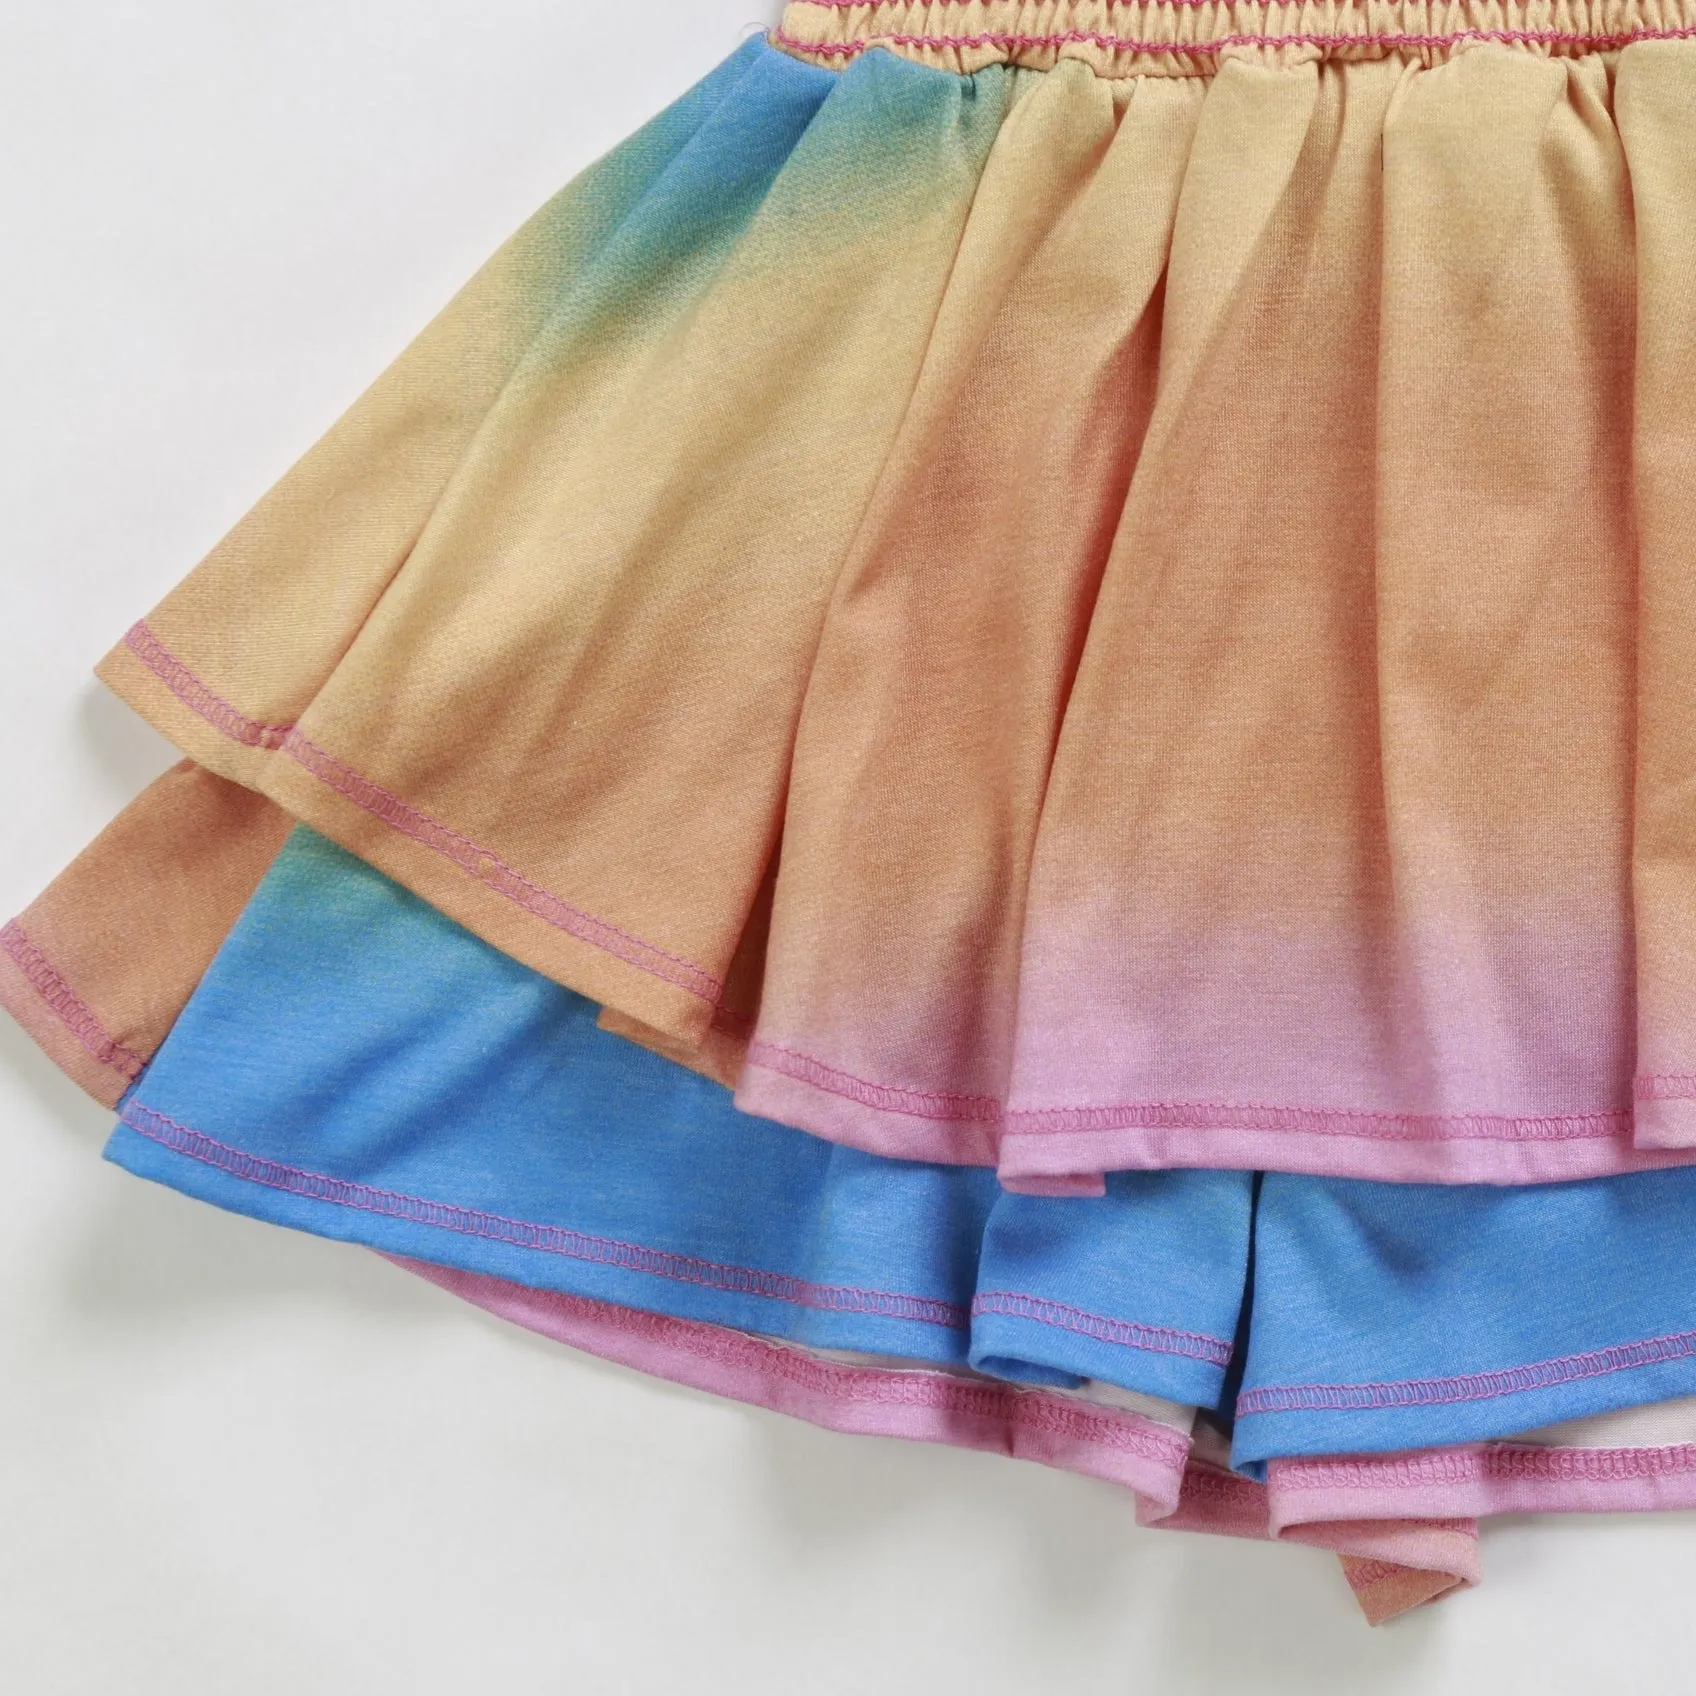
When the pipeline has a gap: if an image is missing from the Brandboom download, I go back to the original file and finish it myself in Shopify’s native editor — cropping to square, removing and replacing the background with pure white, and renaming the file to its SKU with the specific color or pattern. Close-up detail shots are the exception: I leave their backgrounds intact, because the fabric texture and construction detail are the point of the shot.
Styling
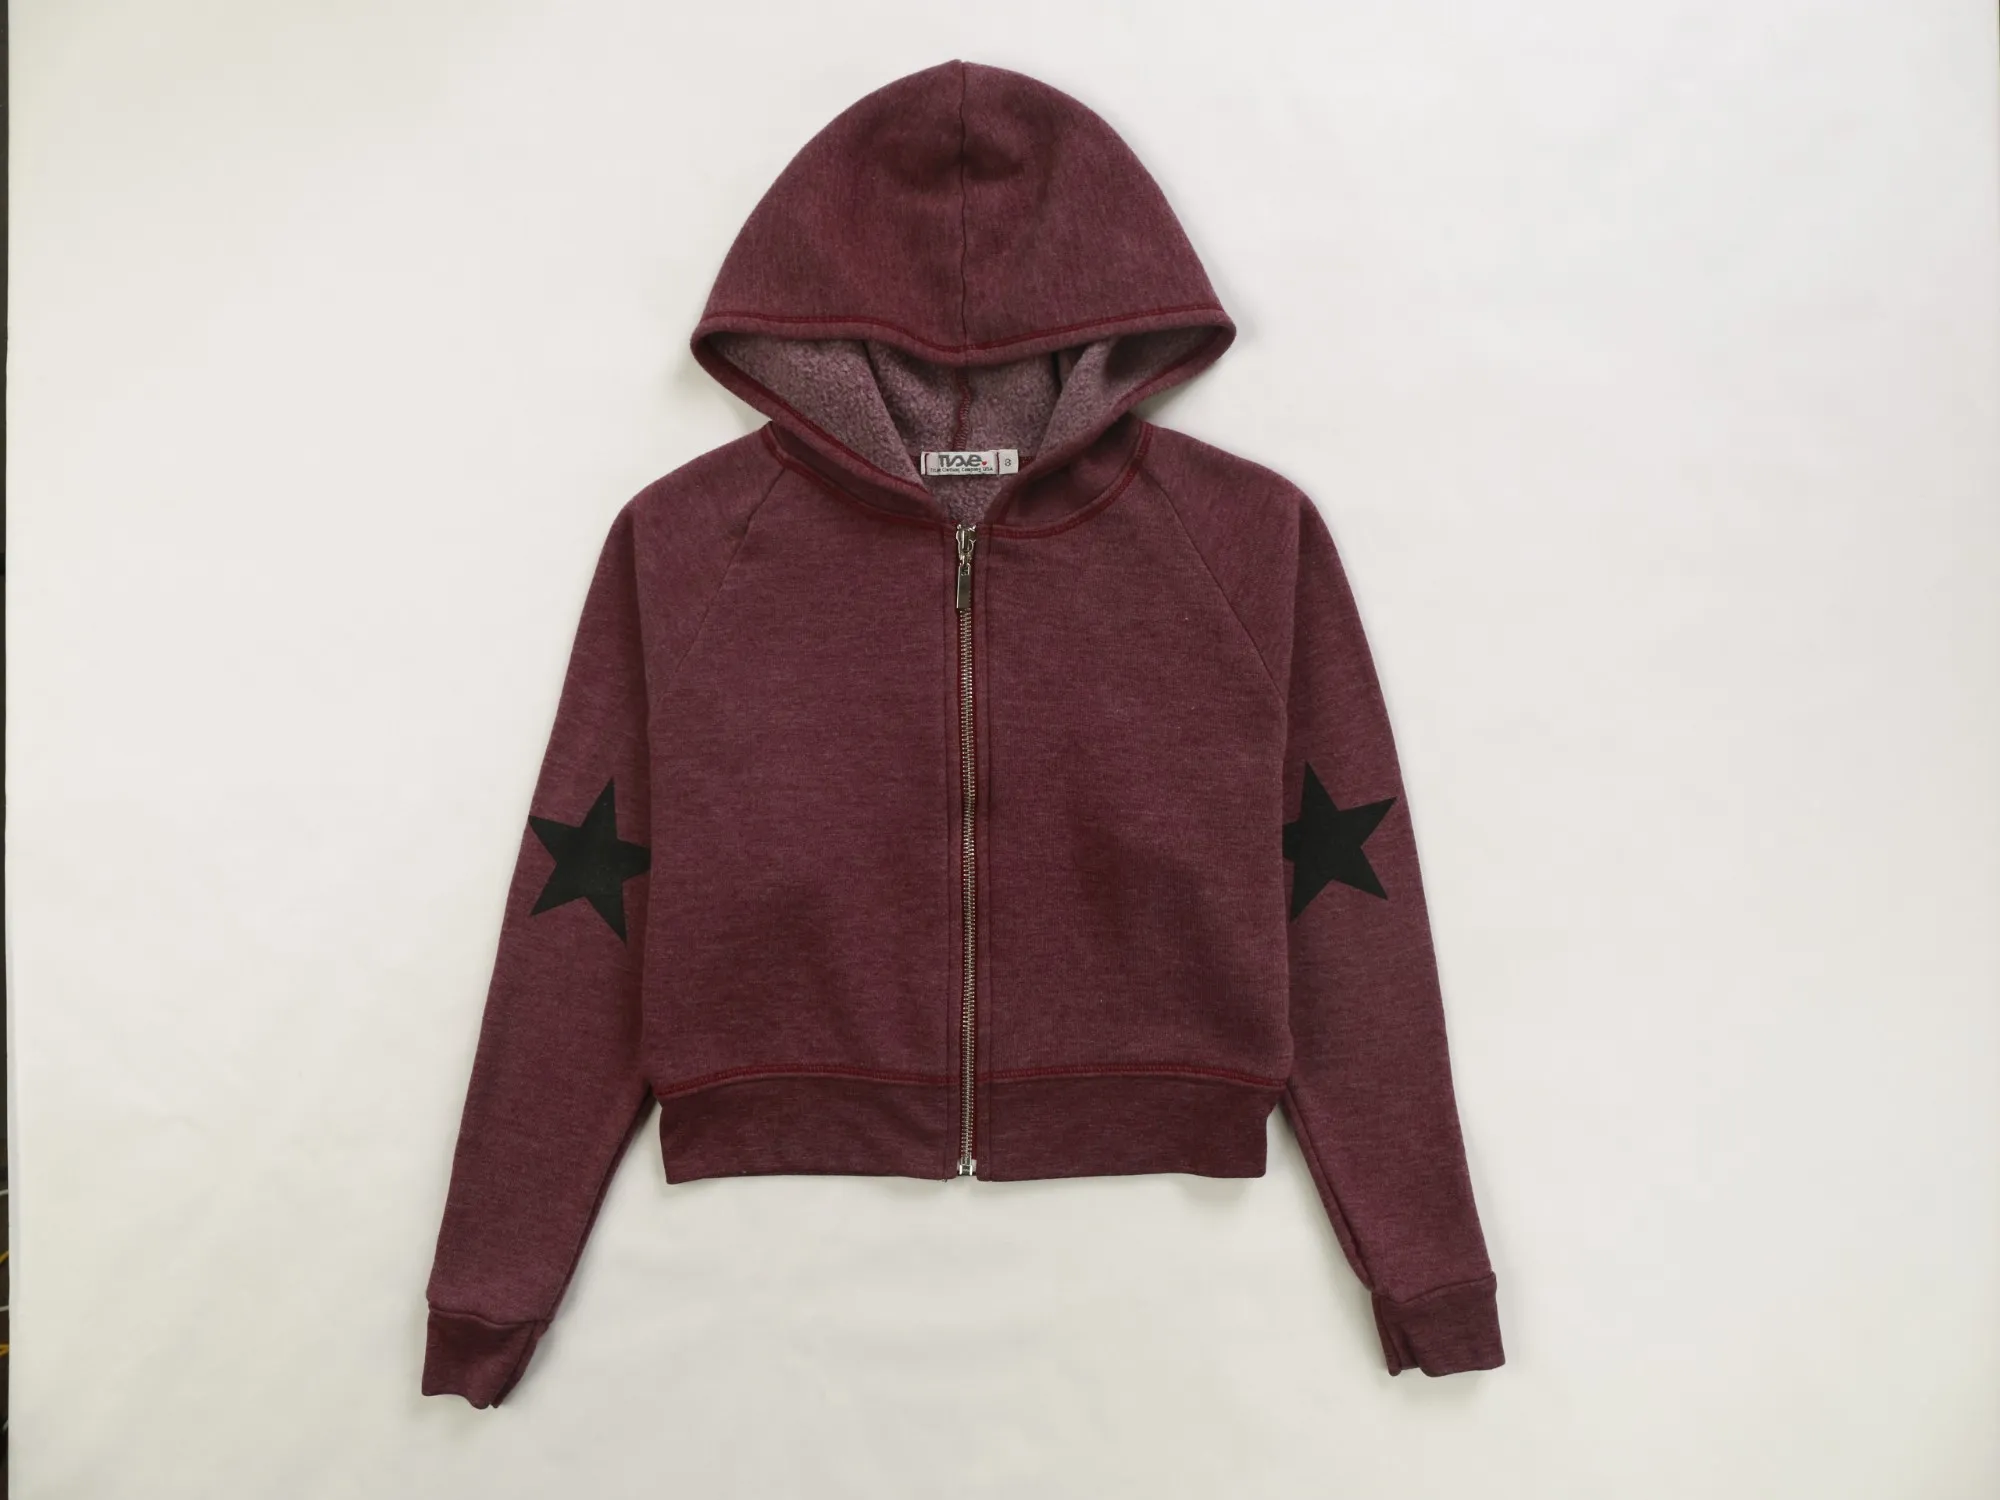
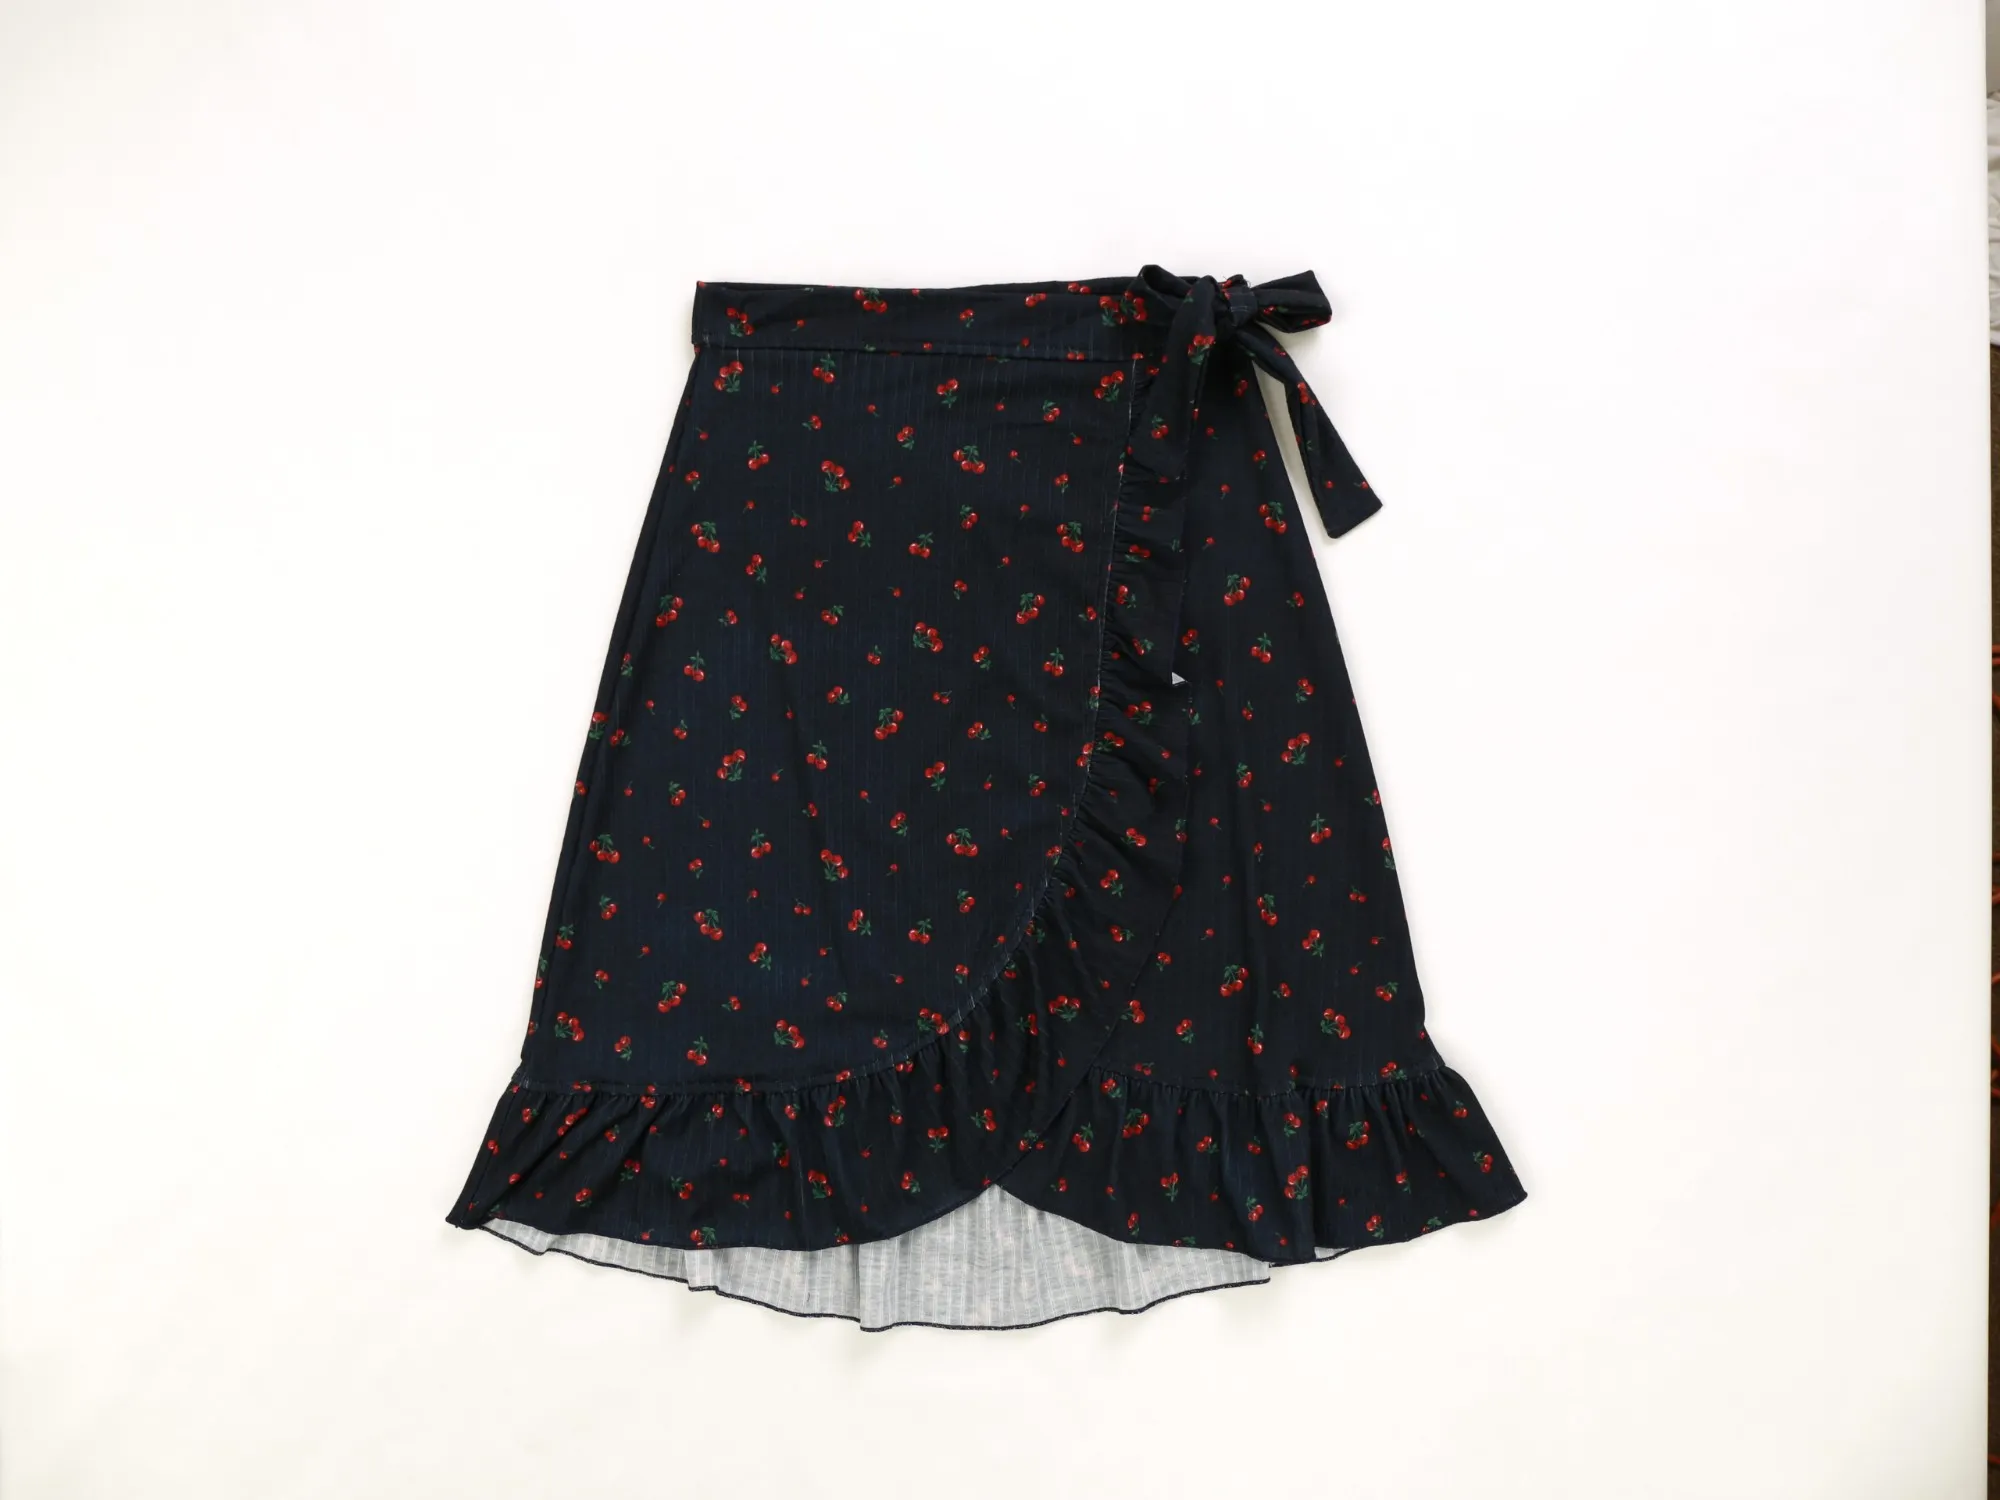
Before anything is photographed, each garment is prepared and arranged so that the prints, dyes, and construction details that define the brand read clearly at thumbnail size. For a brand built on bold prints and dyed fabrics, a flat-lay that flattens the pattern is a failed shot regardless of exposure.
Where the photography goes
Because I also administer the website, the work does not stop at file handoff. The same images I shoot are the ones I upload, place, and merchandise across product pages, collection pages, and the seasonal email campaigns — so I see how each frame performs in the context it was made for, and adjust the next shoot accordingly.
Raw to published
The same garment as the camera recorded it, and as it appears on the product page.
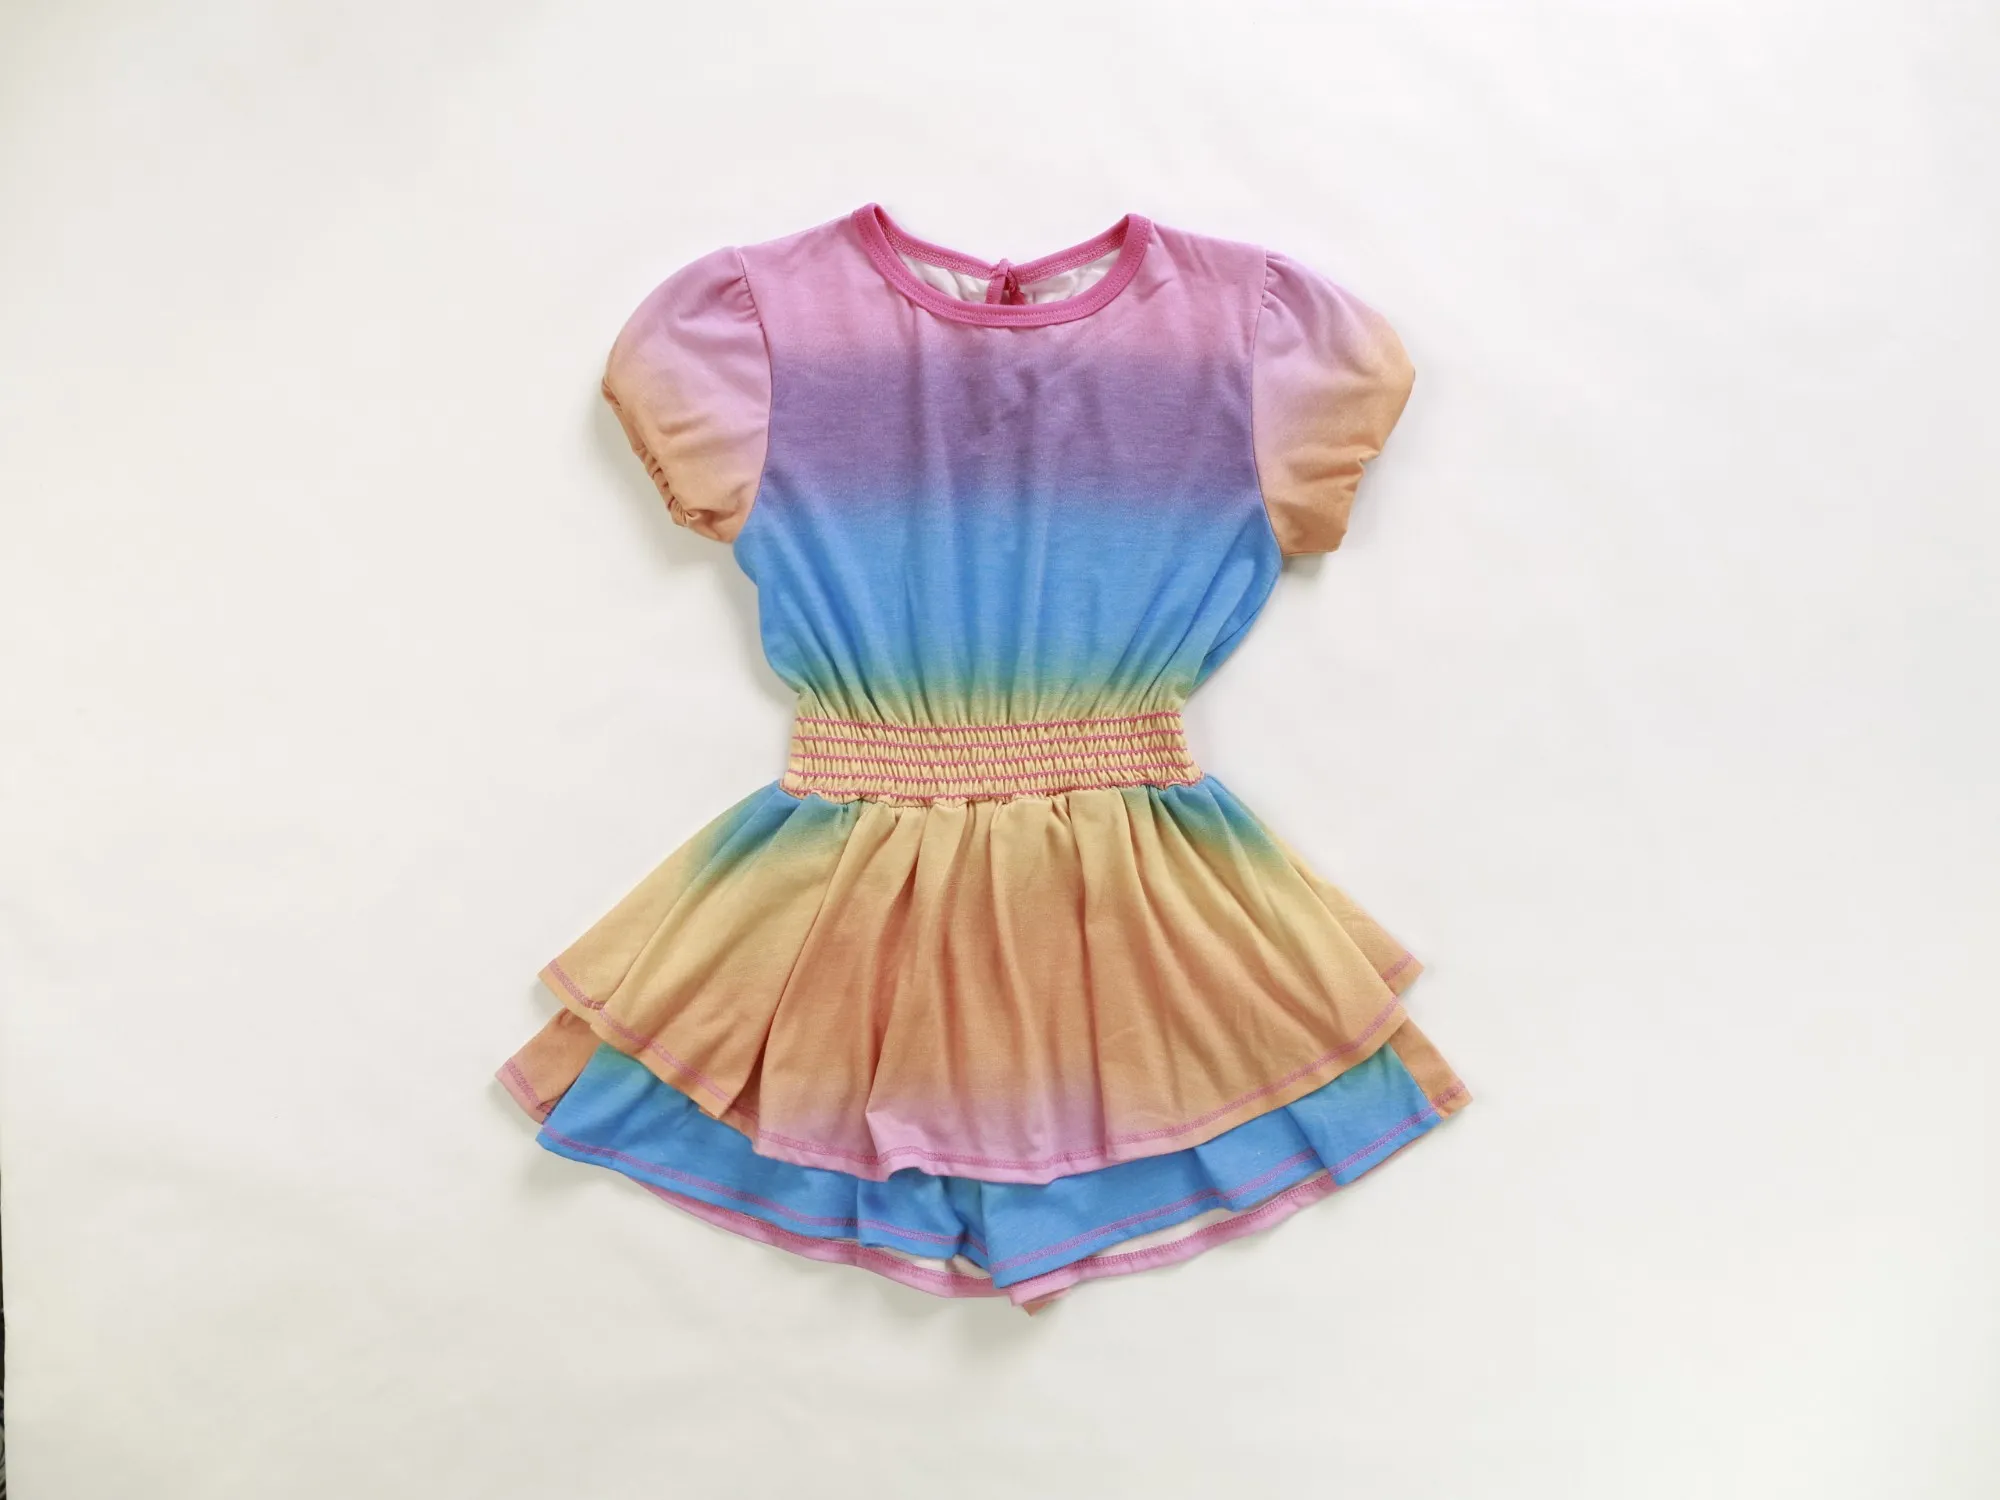
Straight off camera — 4:3
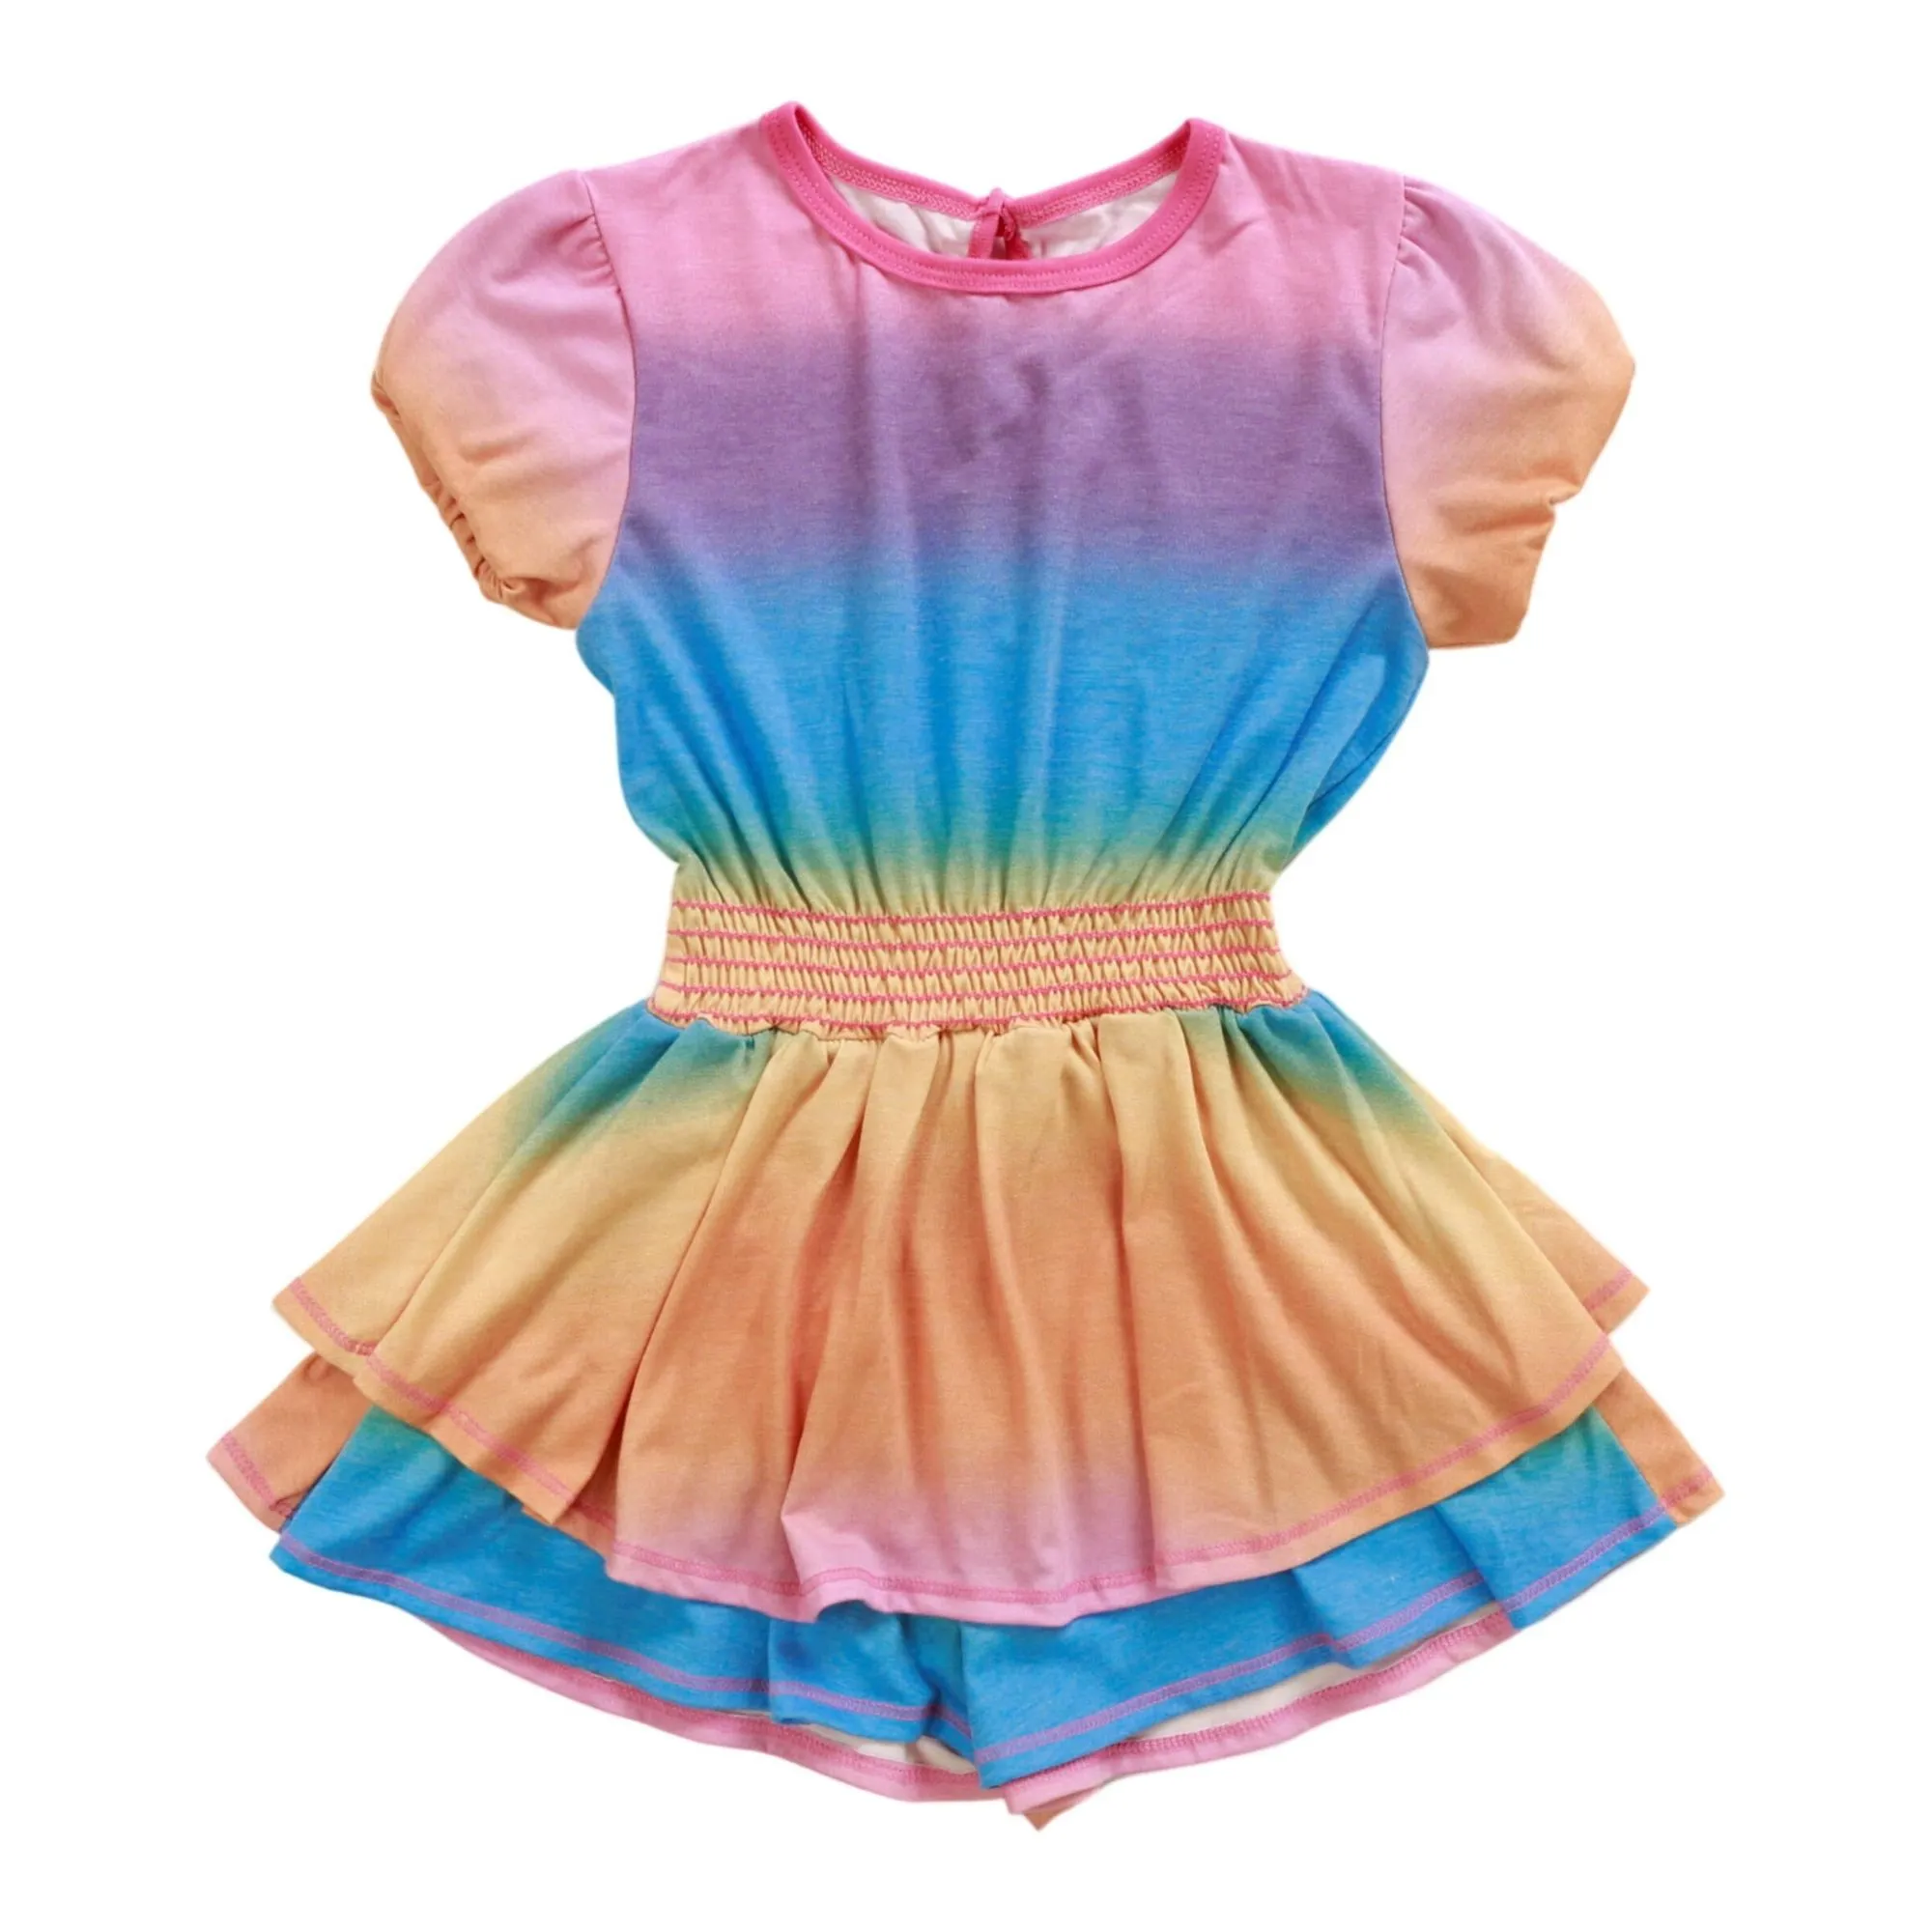
Published — 1:1, background replaced
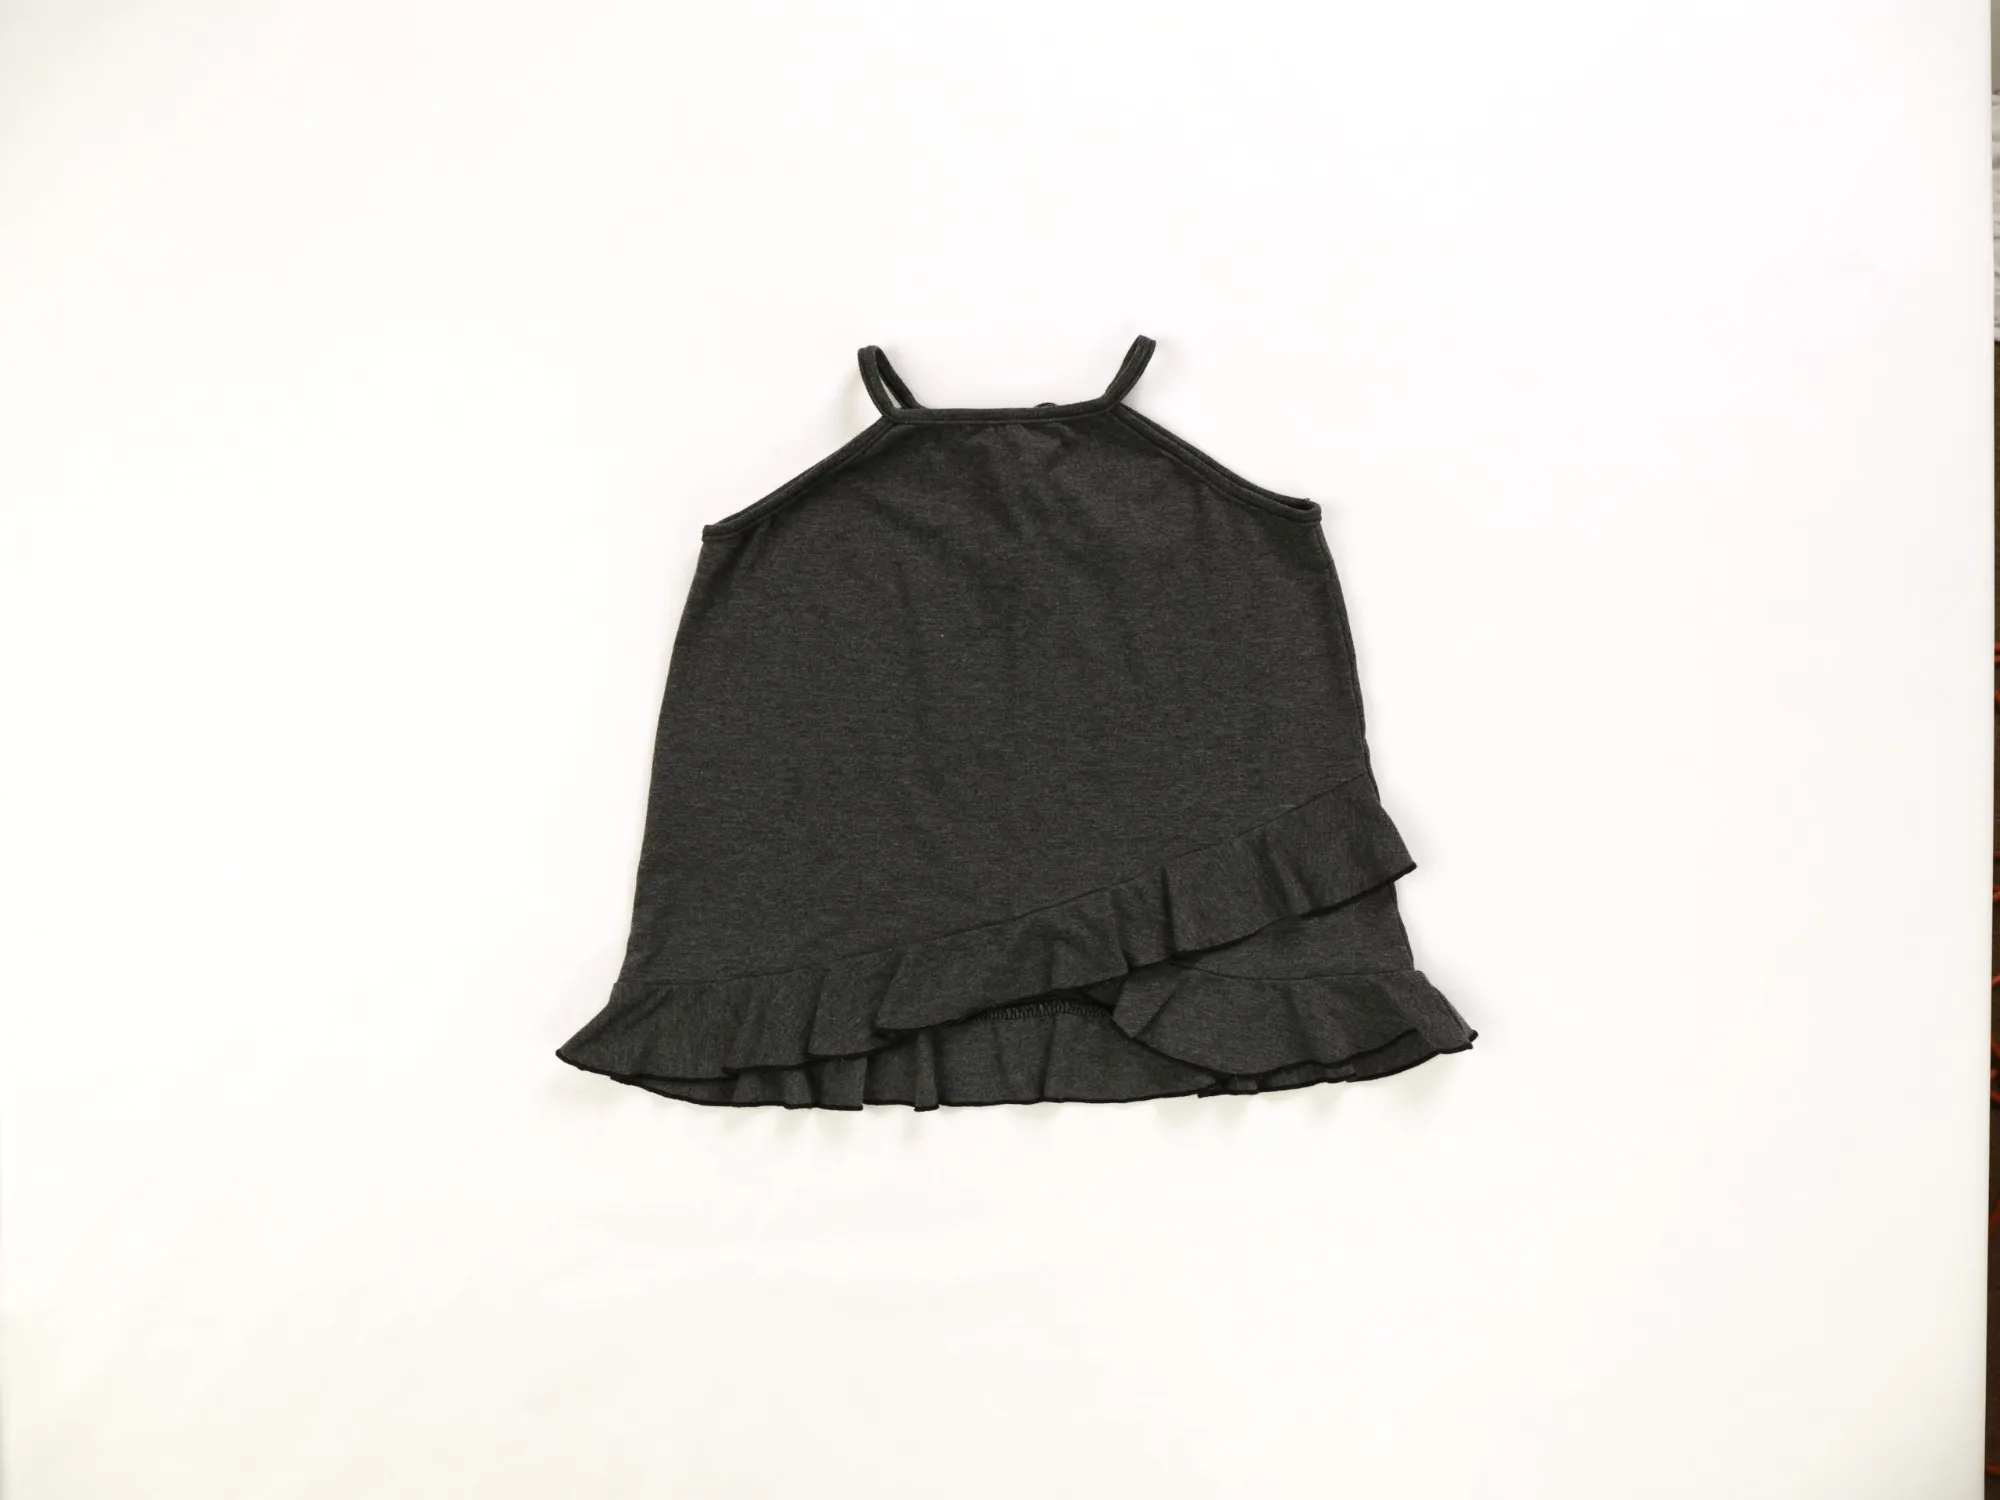
Straight off camera — 4:3
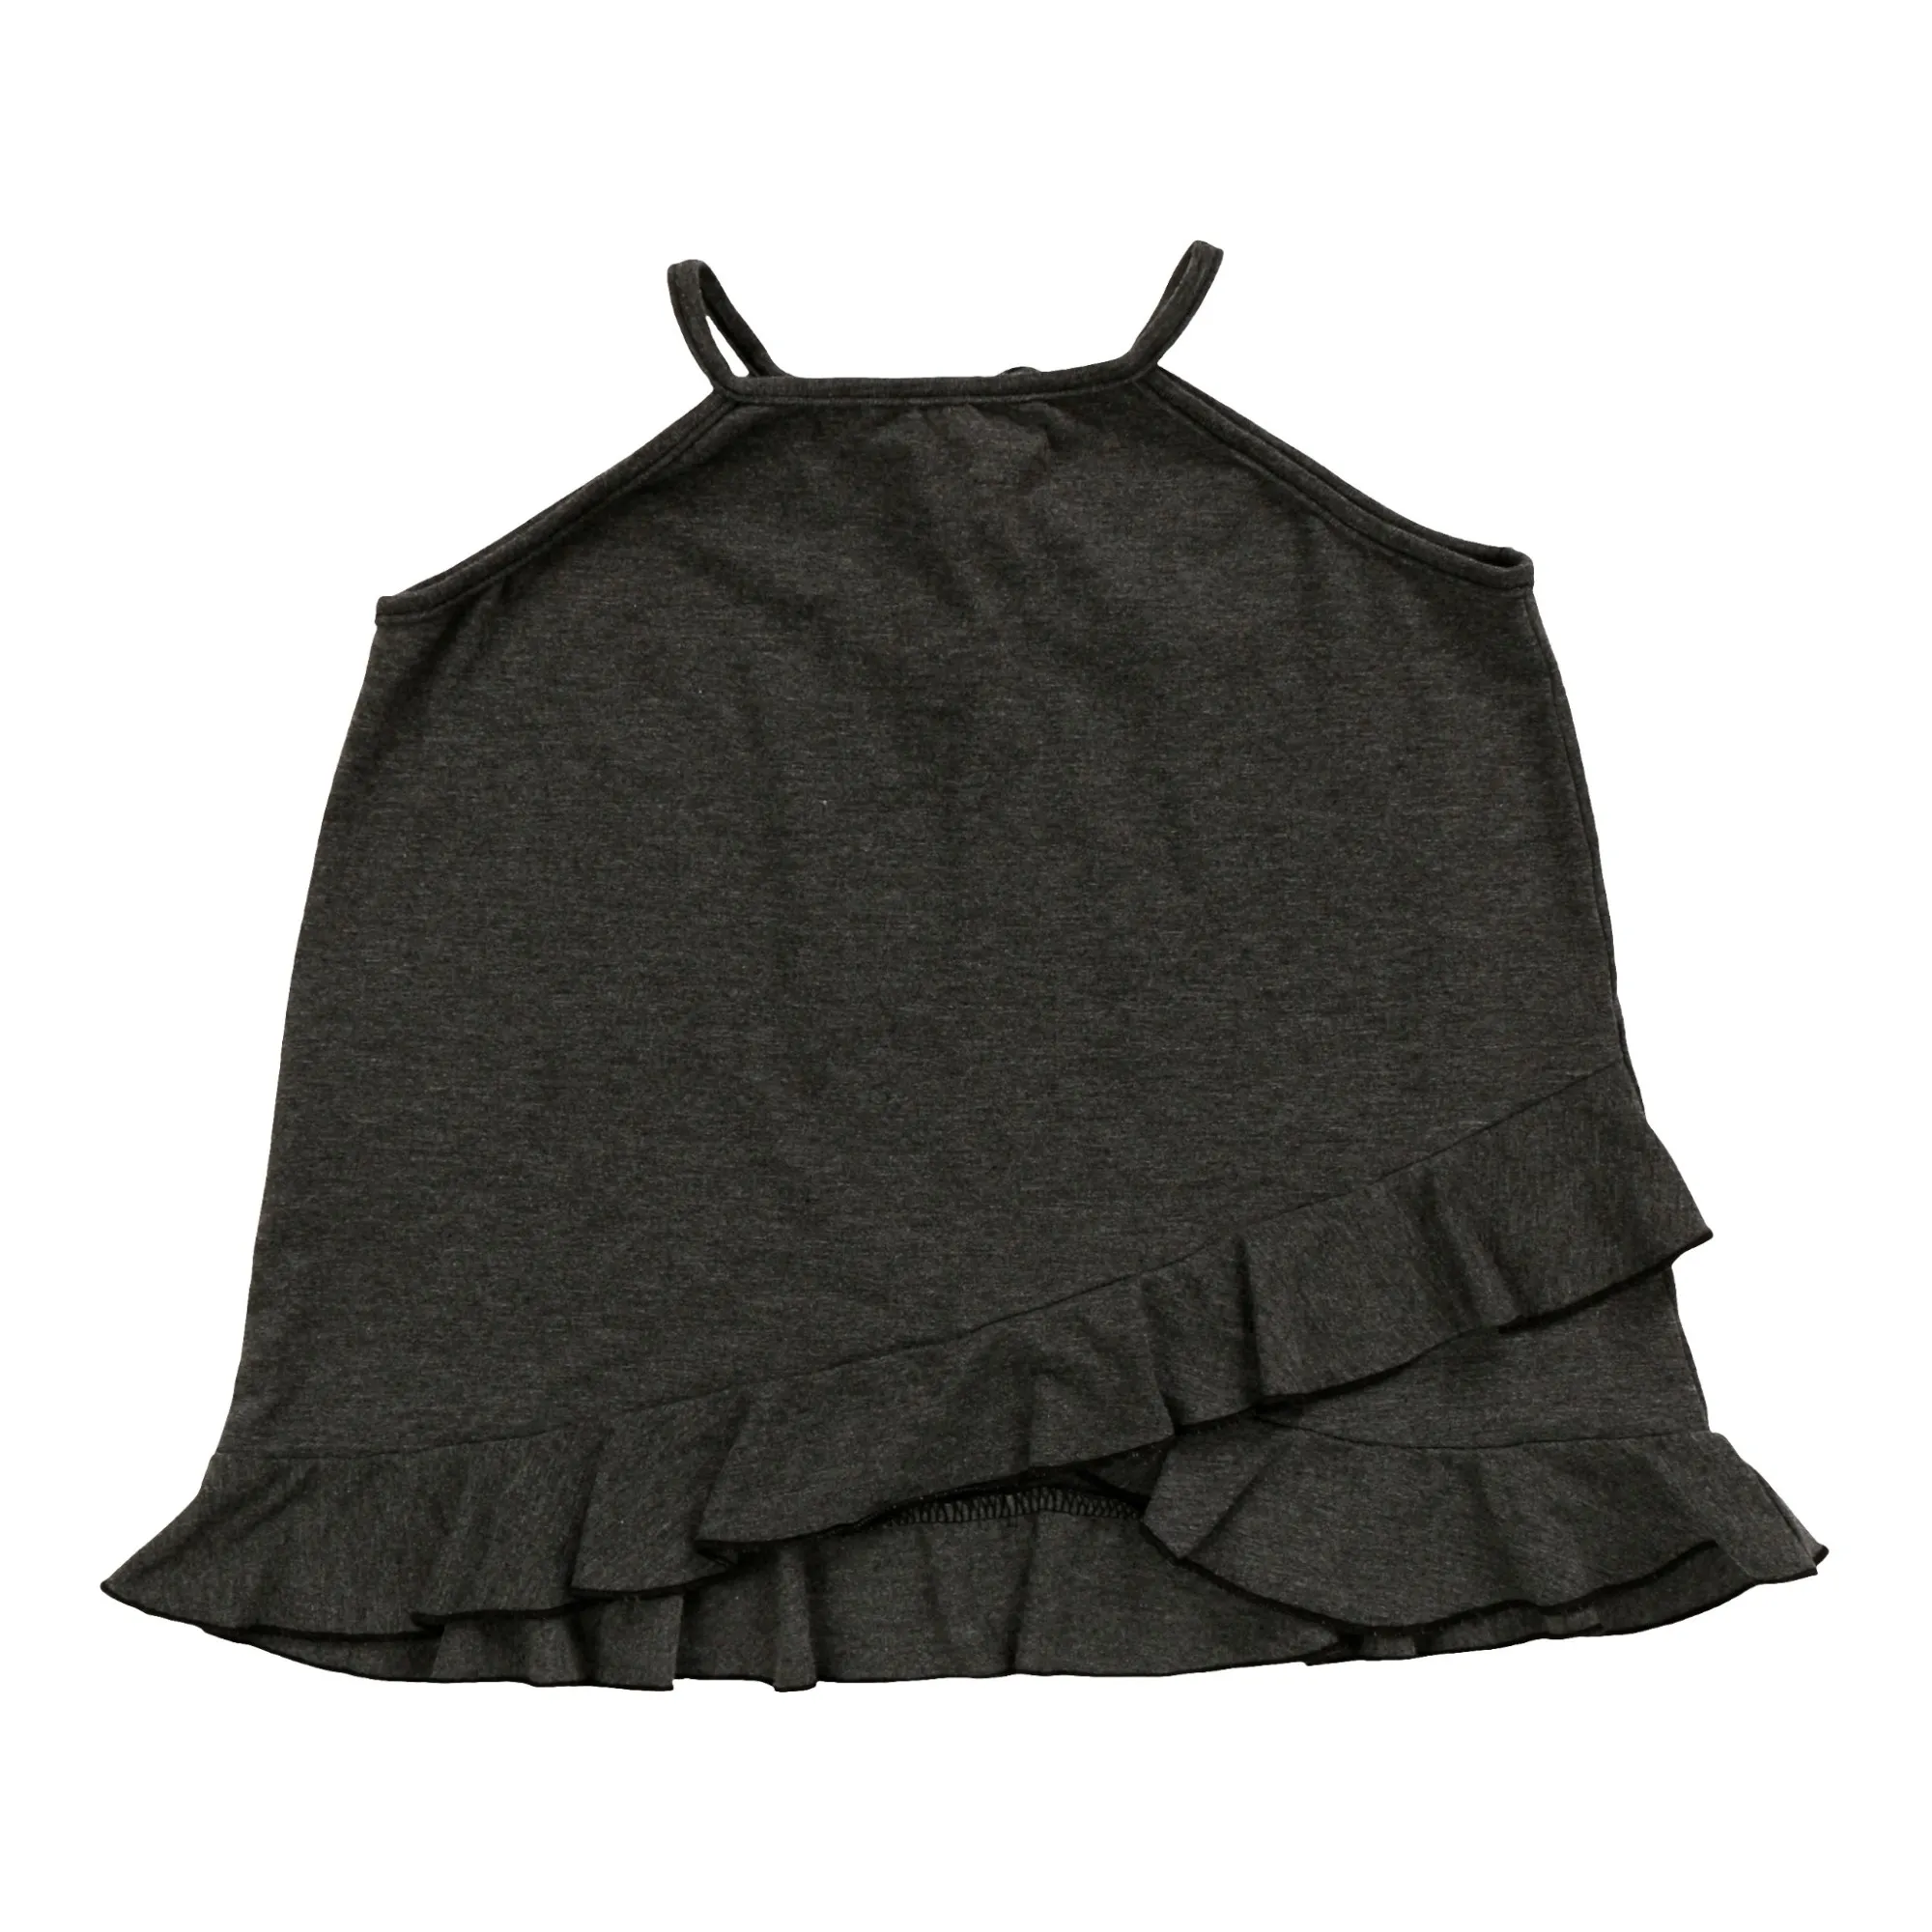
Published — 1:1, background replaced
Selected work
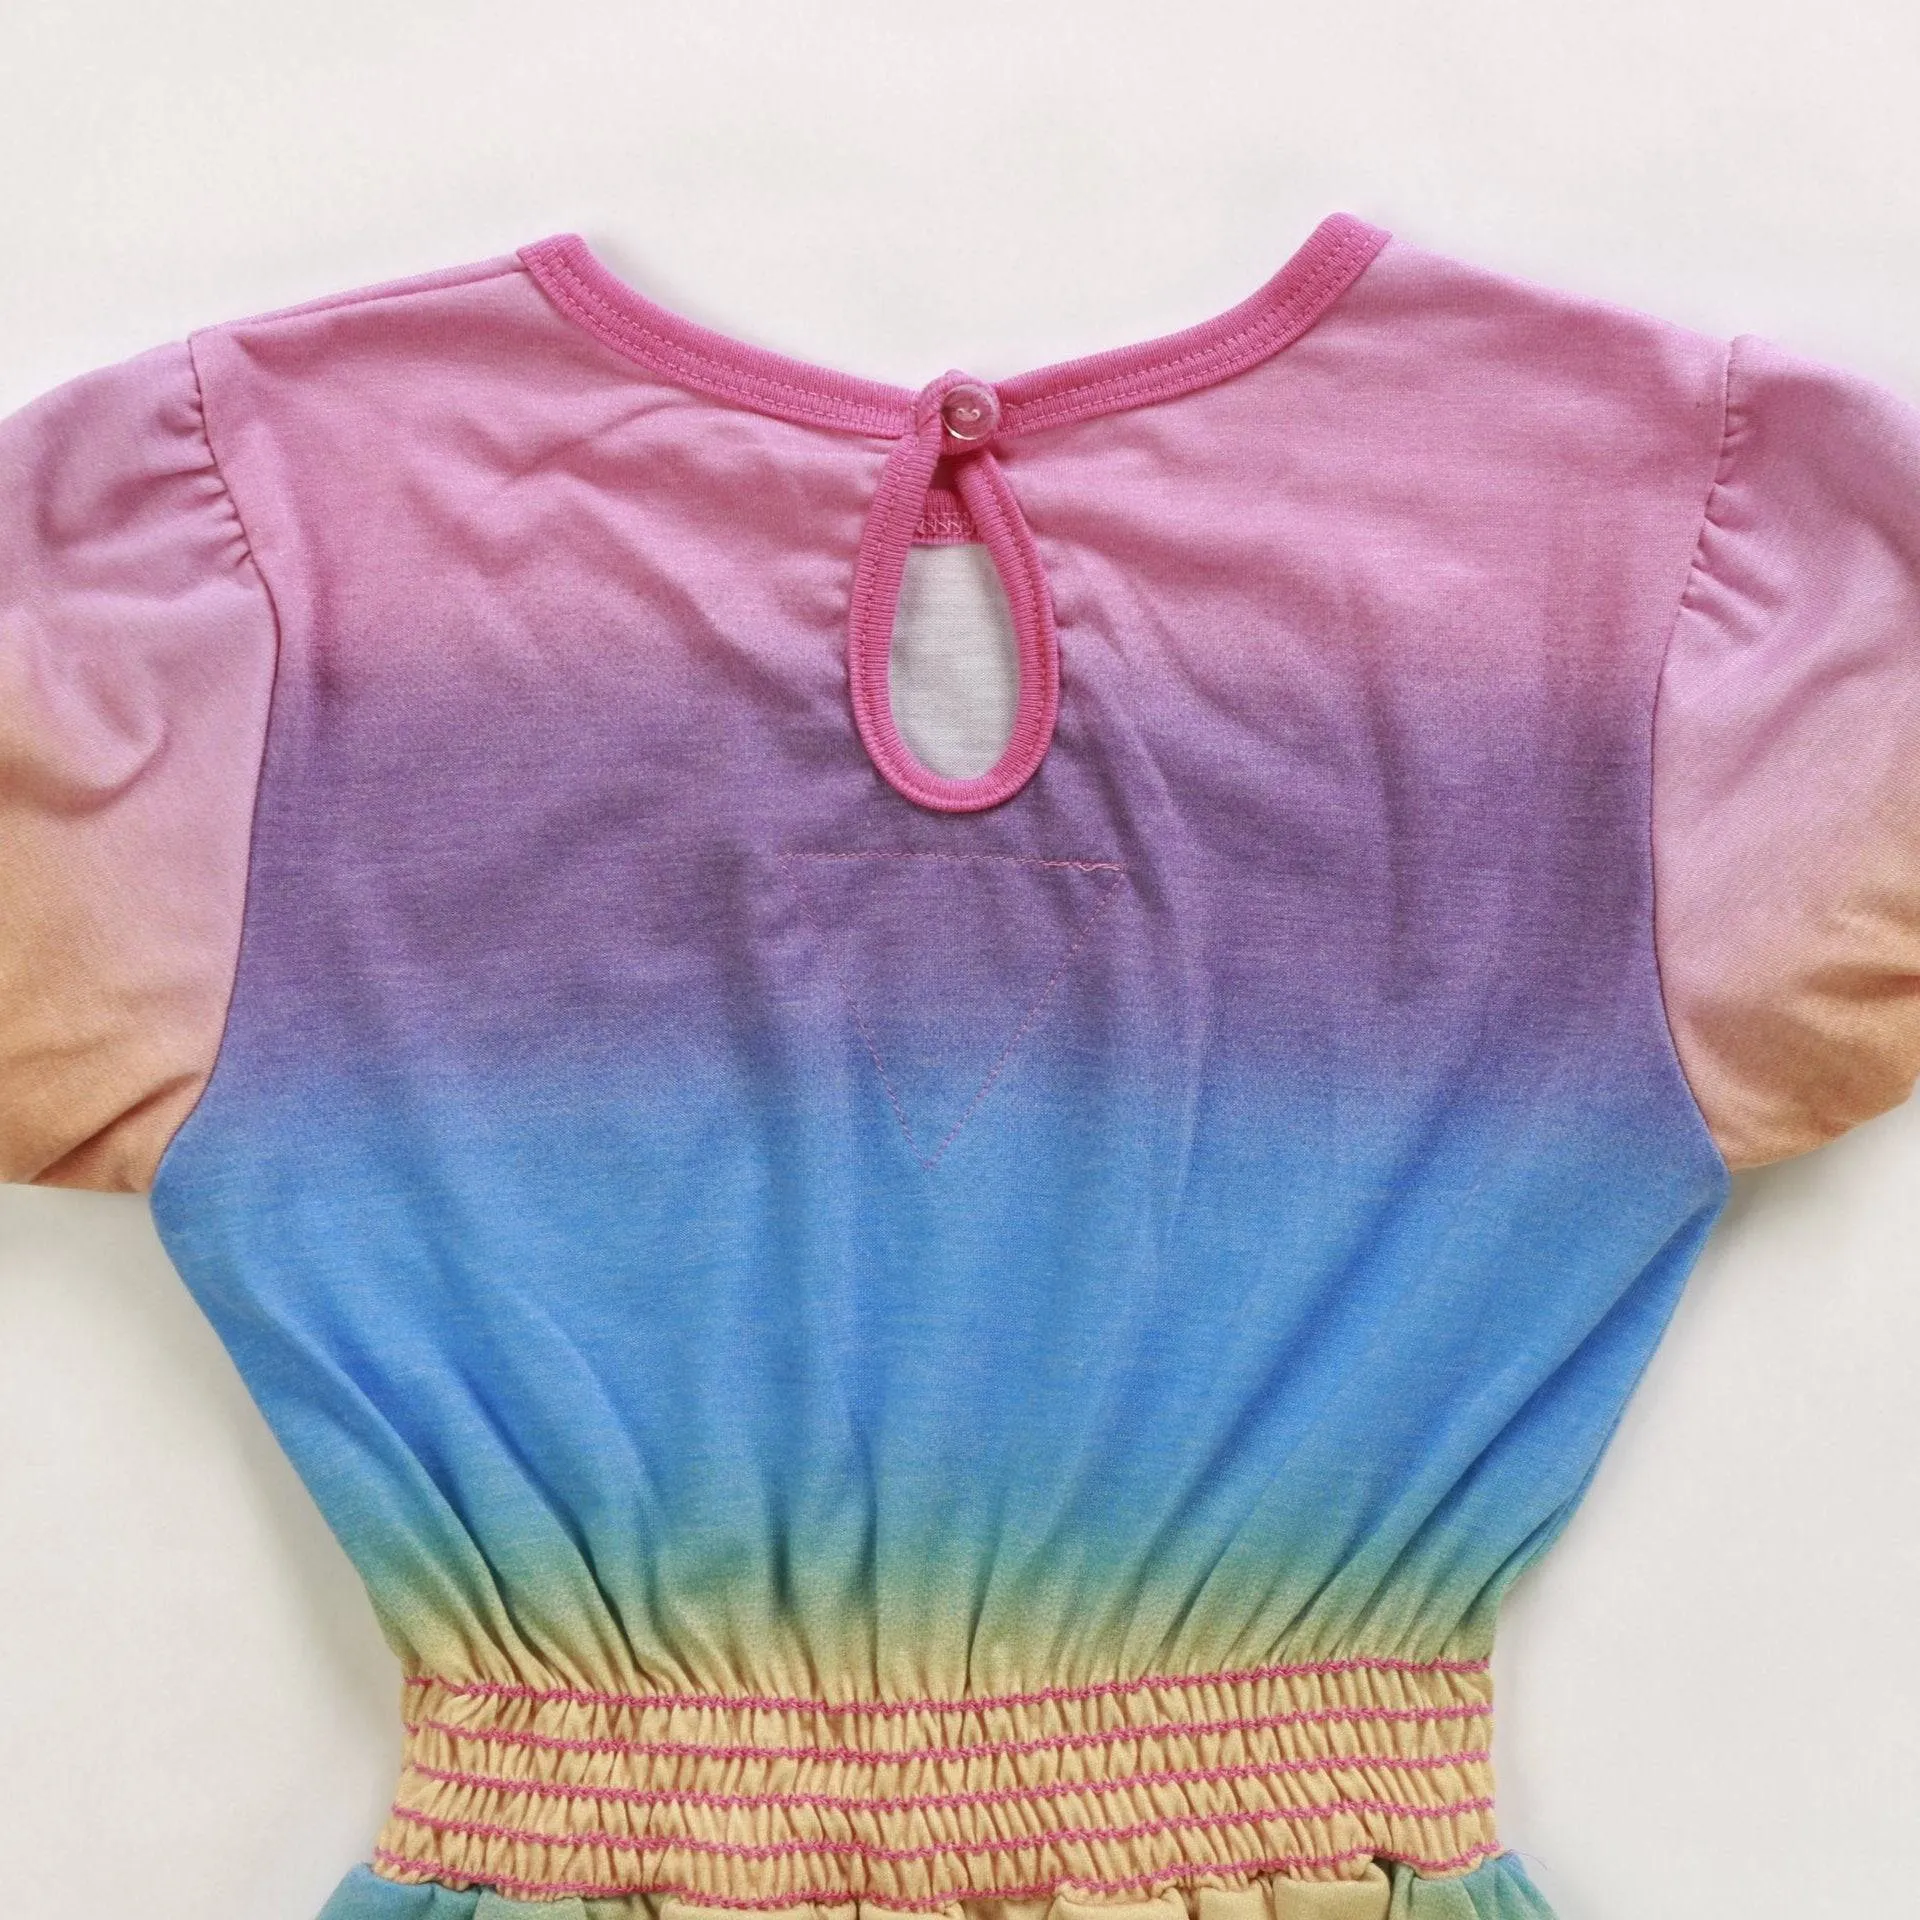
Full garments and the close-ups that carry construction detail.